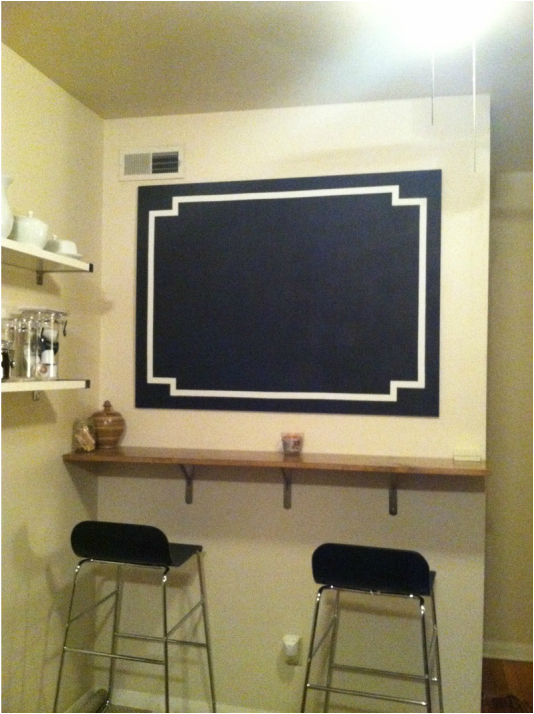
Read how to make this over-sized, DIY chalkboard for under $20.
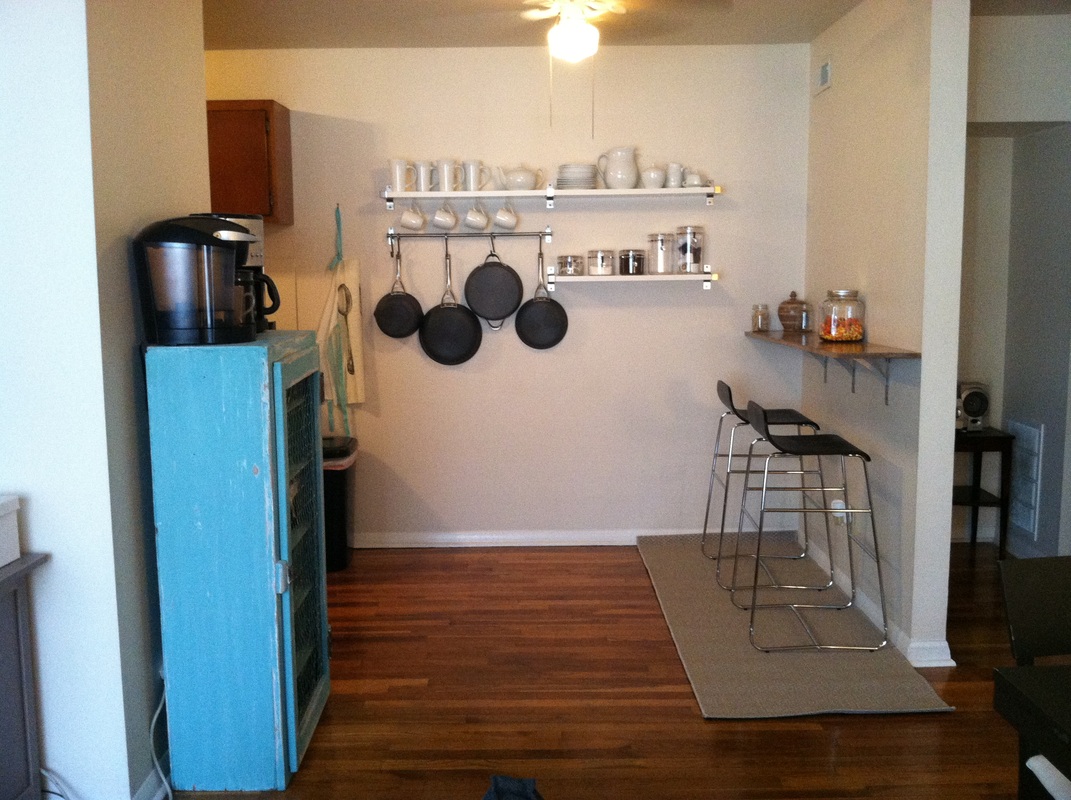
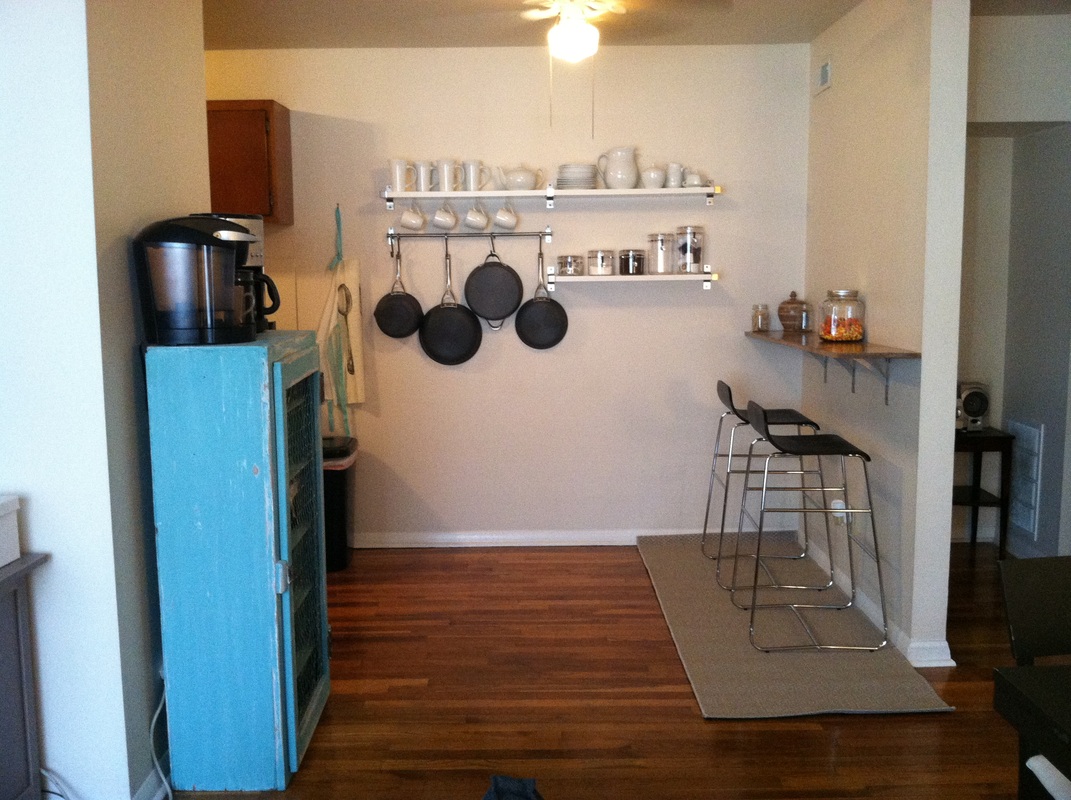
When Philip and I first moved into our apartment, we were struggling to figure out our set up. We have a very long, skinny room - big enough to be a living room and dinning room - but too large and awkward to be just one. We also have a small dinning area just off this room. We decided to install shelves and a bar to make our small dinning area a kitchenette and split our large room into a living room/dinning room.
After installing our bar, the wall above it was just crying out for a large chalk board. I knew the chalkboard needed to be at least 4x3 - but in order to get one that size, I was either going to spend a fortune or have to make my own. I decided on the latter.
Philip and I ventured out to Home Depot and found a scrap board (4'x4') that was only $7. If you are looking for wood to craft with, sometimes you can find scrap pieces large enough to use that are severely discounted. We had the board cut down at the store for free and got a quart of Rust - Oleum Chalkboard Paint (about $10). Having Home Depot cut the wood at the store is extremely convenient, especially when you live in an apartment and don't have the space to store or use a large saw.
Philip and I ventured out to Home Depot and found a scrap board (4'x4') that was only $7. If you are looking for wood to craft with, sometimes you can find scrap pieces large enough to use that are severely discounted. We had the board cut down at the store for free and got a quart of Rust - Oleum Chalkboard Paint (about $10). Having Home Depot cut the wood at the store is extremely convenient, especially when you live in an apartment and don't have the space to store or use a large saw.
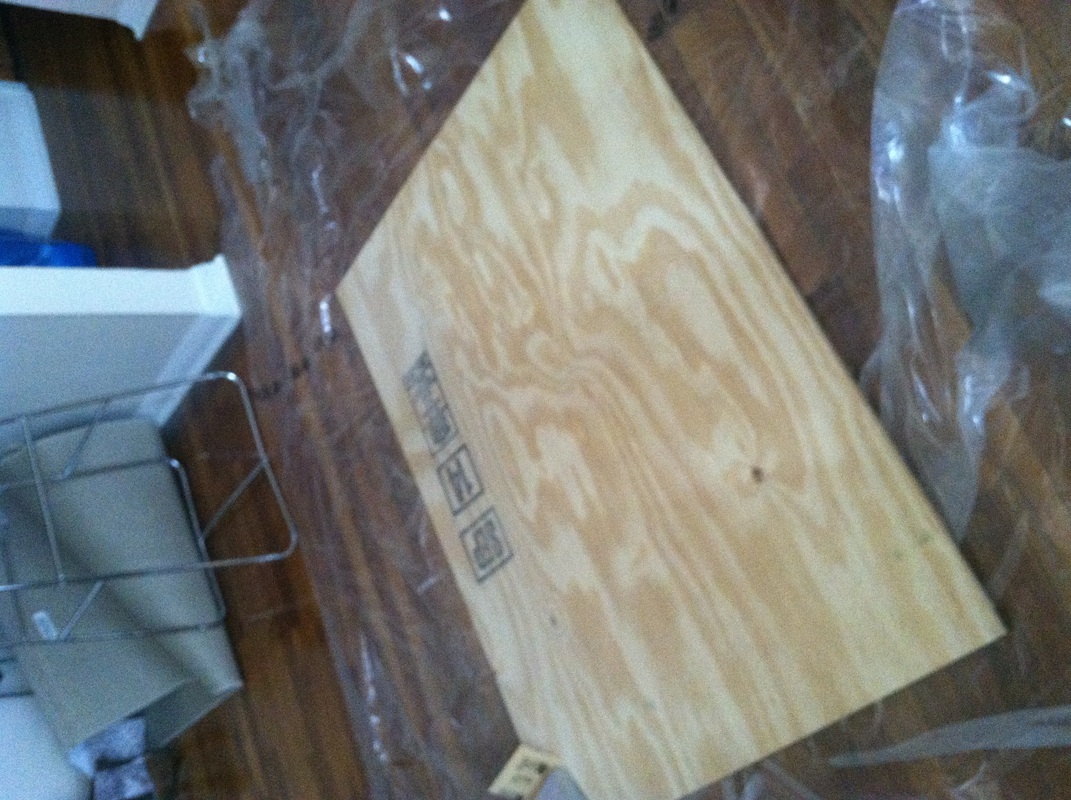
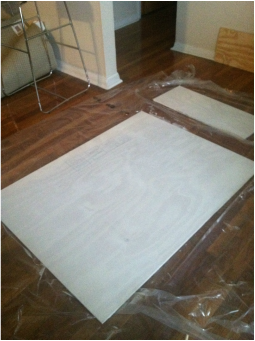
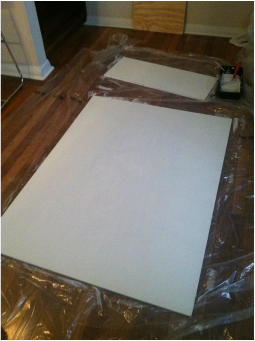
I began by washing and sanding down the wood piece. Because there was a large black stamp on the wood, I knew I was going to need to use a few coats of primer. (Although I was using black paint to cover most of the board, the black stamp would have shone through the boarder if I hadn't covered it well enough.) I used two coats of Zinsser Primer and two coats of Color Place Interior Flat White Paint - I already had the primer and white paint at my house from previous projects, so there was no additional cost for these. I hope you can appreciate my craft room - i.e. the middle of my dinning room floor.
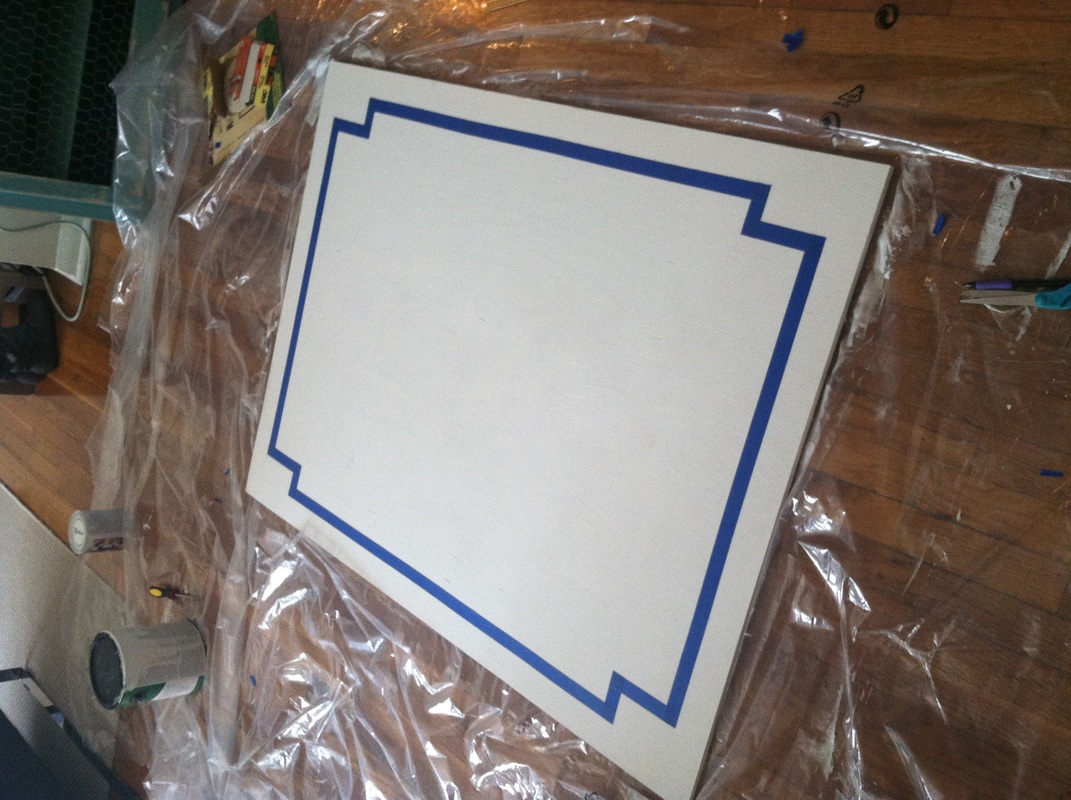
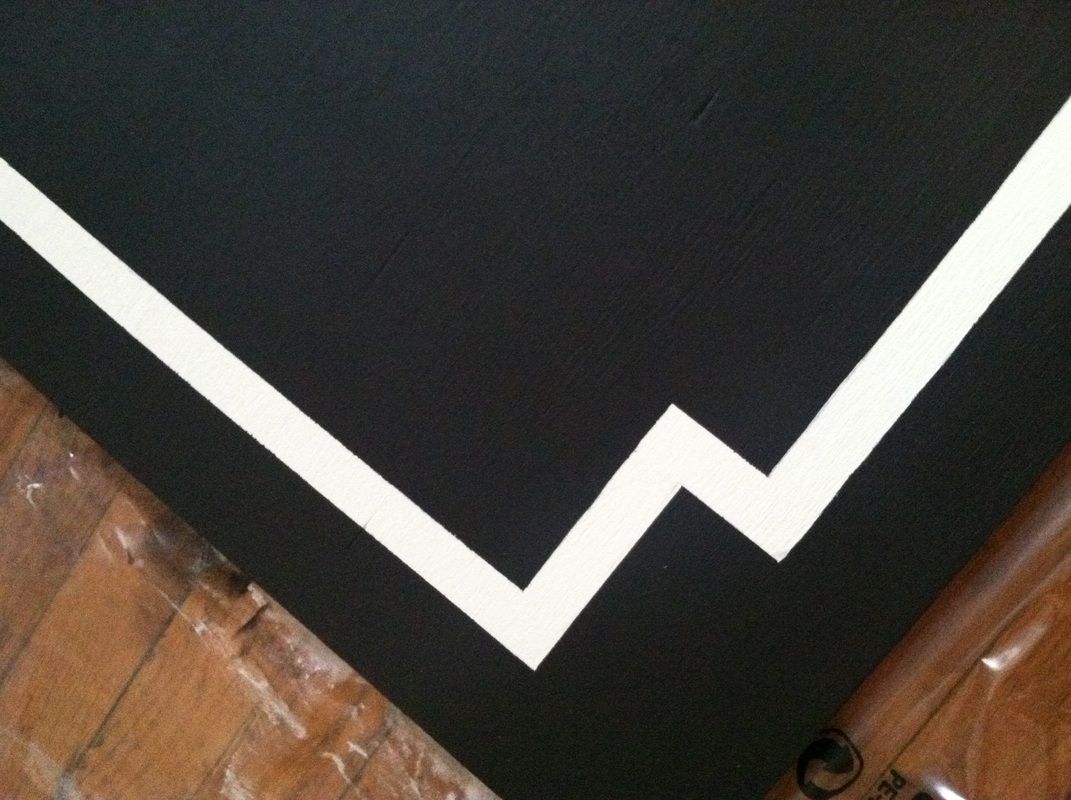
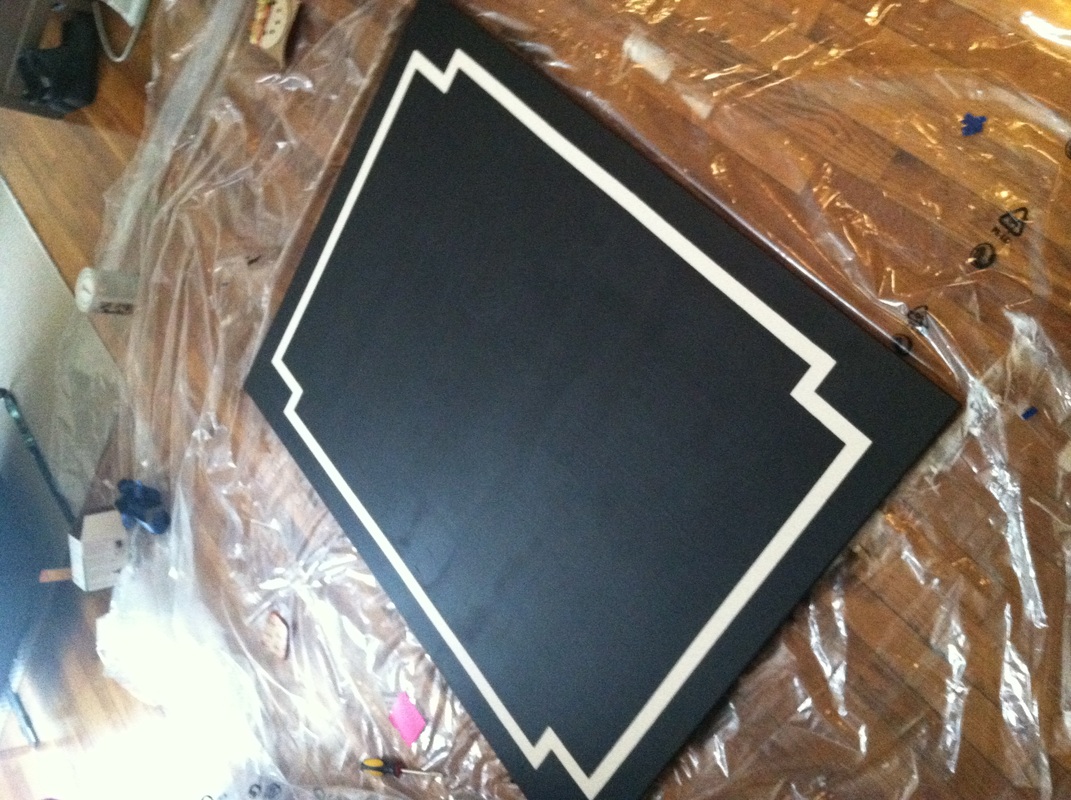
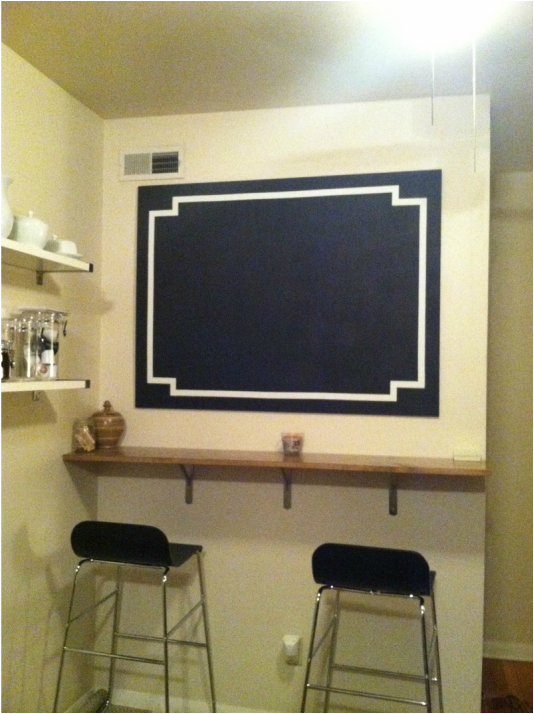
After finishing my white coats of paint, my next step was to tape off the boarder. I loved the look of a picture frame surrounding the chalkboard, but decided it would be much easier to simply paint a boarder around the edges. I used blue painters tape and measured out a boarder around the perimeter of the board, cutting in deeper around the corners. My boarder was 2 inches away from the edge around the perimeter, and then when I was 4 inches from the top/bottom, I would cut in 4 more inches (until I was a total of 6 inches away from the edge) and then continue up another 2 inches to add definition to my corners.
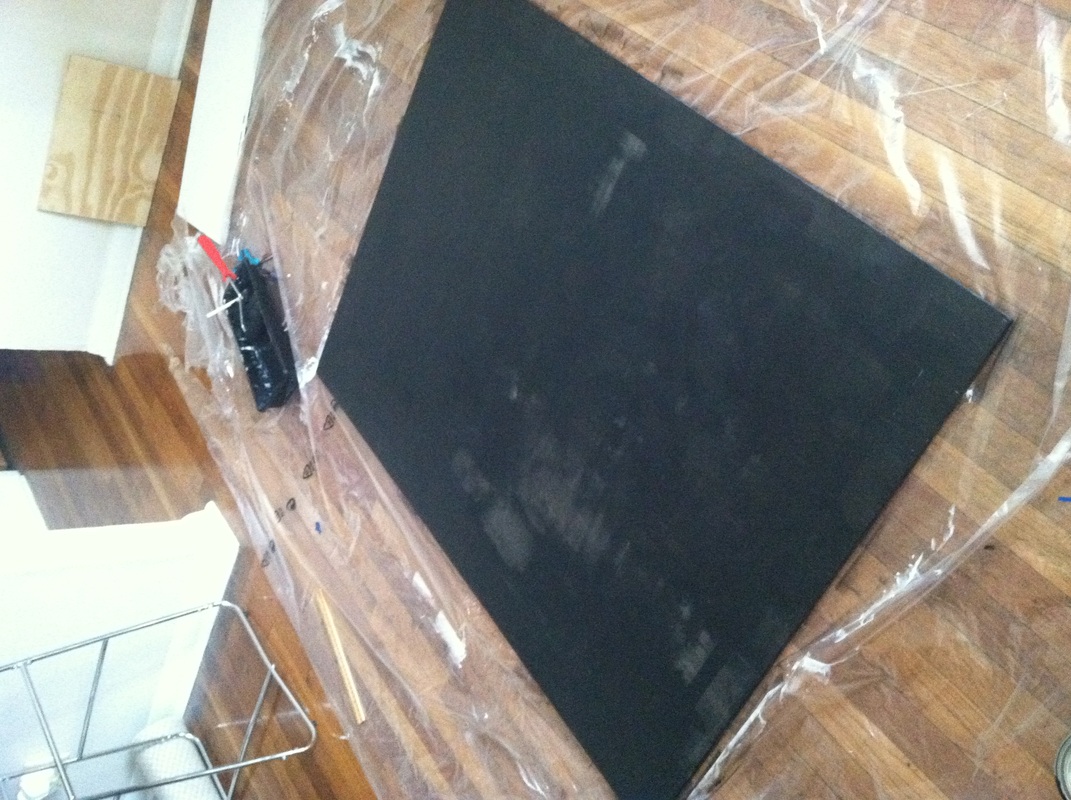
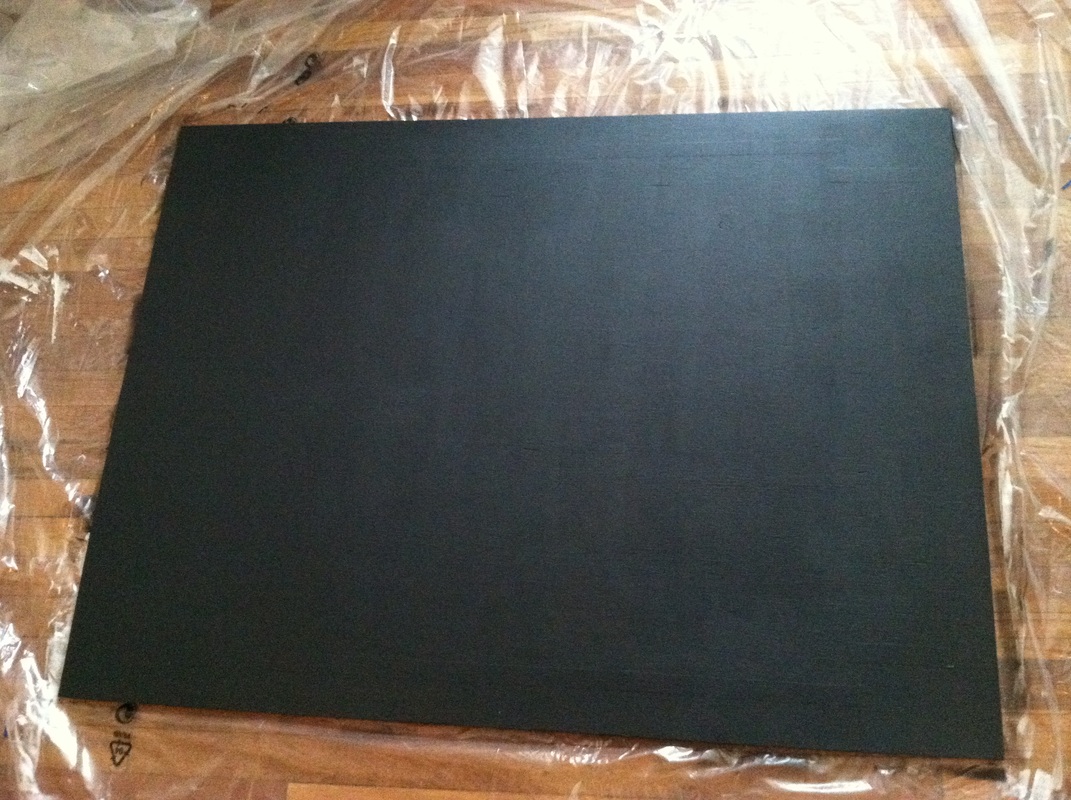
After tapping off my board, I went over it with several coats of my chalkboard paint. I think it took at least 3 coats to get fully covered, but I still only used about an 1/8th of my can of paint. I used a small, foam roller to avoid any paint brush marks.
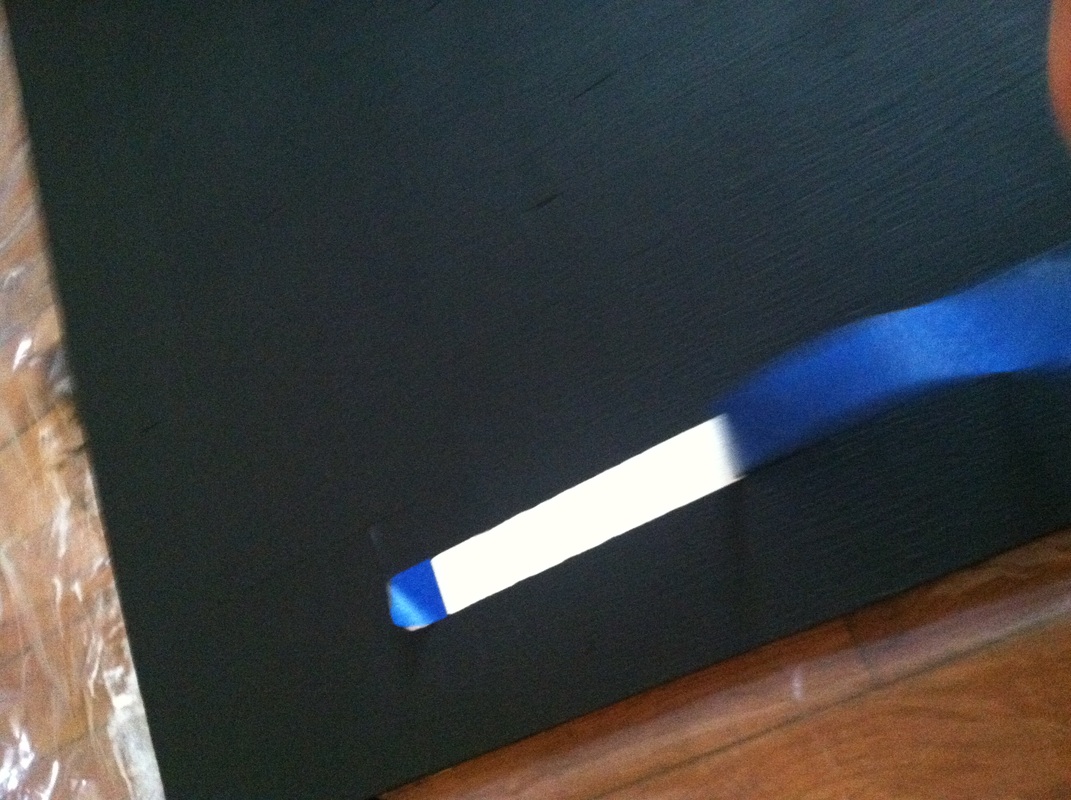
After my paint had fully dried, I went around the edges and removed the tape from boarder.
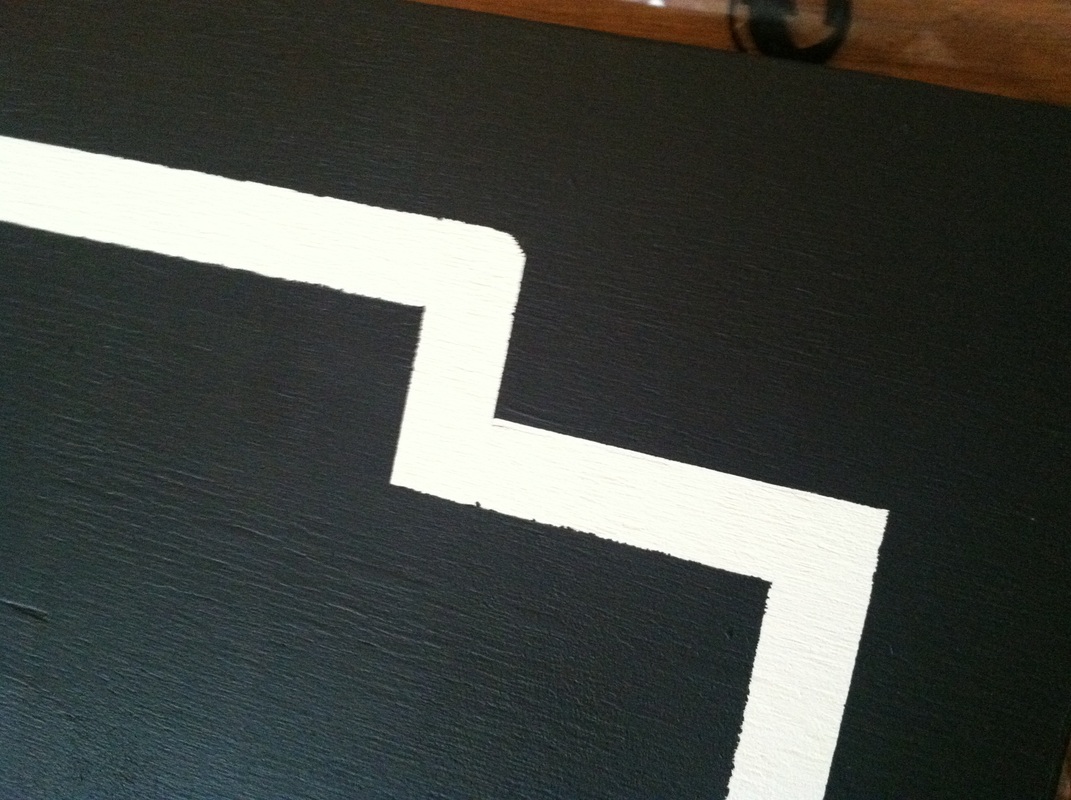
Although the tape did a decent job of protecting my boarder, there were several areas where the chalkboard paint had crept in. I went back around the boarder with a small paintbrush and my white paint to touch up these areas and to give the edges a clean finish.
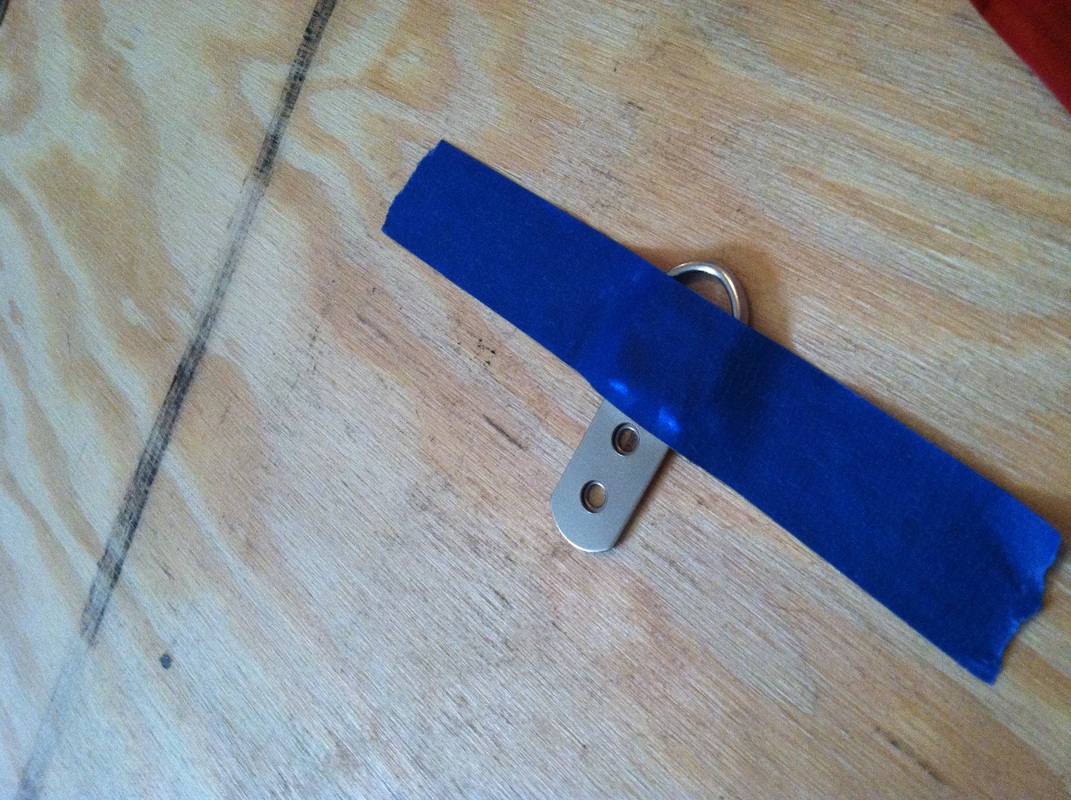
I finished of the chalkboard my screwing three brackets to the back to hang above the bar. (I used painter's tape to hold the brackets in place while I screwed them into the board.)
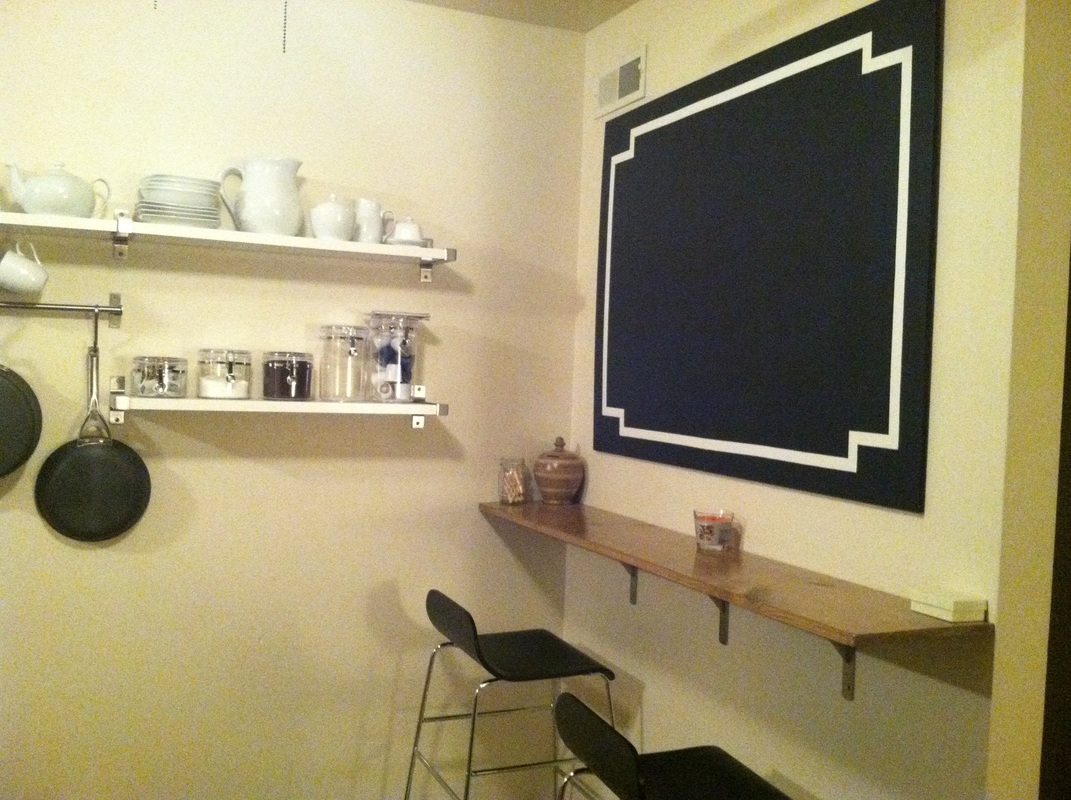
After hanging the chalkboard, I loved how it looked on the wall. It made a dramatic difference in the room. It goes great with the entire space and it really only cost me about $20.

 RSS Feed