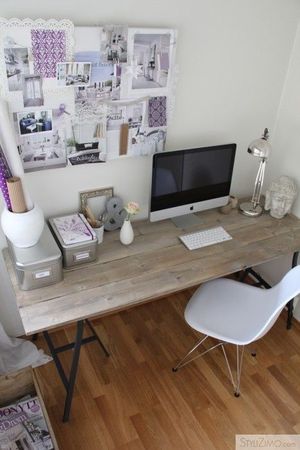
Ever since we moved into the Baby Bungalow, I have been wanting to put a desk in our second bedroom. We've been hoping to make it a dual purpose room---office and guest bedroom. I found a few ideas on Pinterest that I used as inspiration.
 |  |
You can see my entire office Pinterest board here: http://www.pinterest.com/adee08/office/
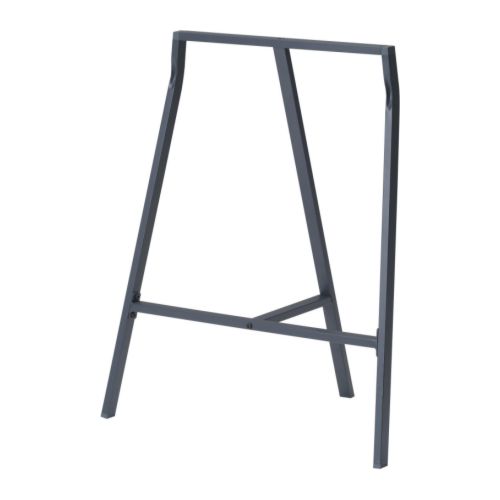
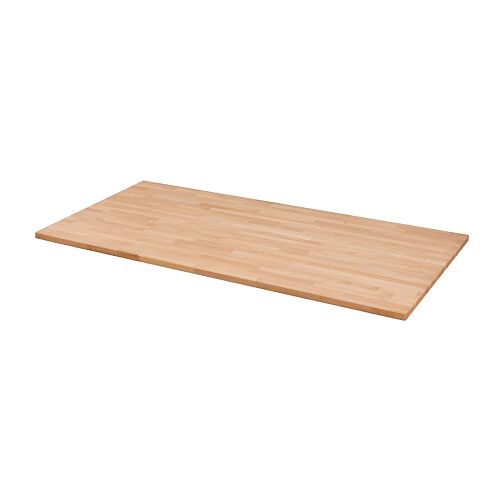
I was particularly drawn to the dark metal trestle legs. Ikea carries a gray types of these legs for $10.99 each. We picked up a few over the holidays while we were in Canton. I also really loved the thick, wooden table top look. Ikea had this butcher block table top that I liked, but it was $80, more than we were willing to spend. Ultimately, we decided we could make our own.
I was particularly drawn to the dark metal trestle legs. Ikea carries a gray types of these legs for $10.99 each. We picked up a few over the holidays while we were in Canton. I also really loved the thick, wooden table top look. Ikea had this butcher block table top that I liked, but it was $80, more than we were willing to spend. Ultimately, we decided we could make our own.
 |  |
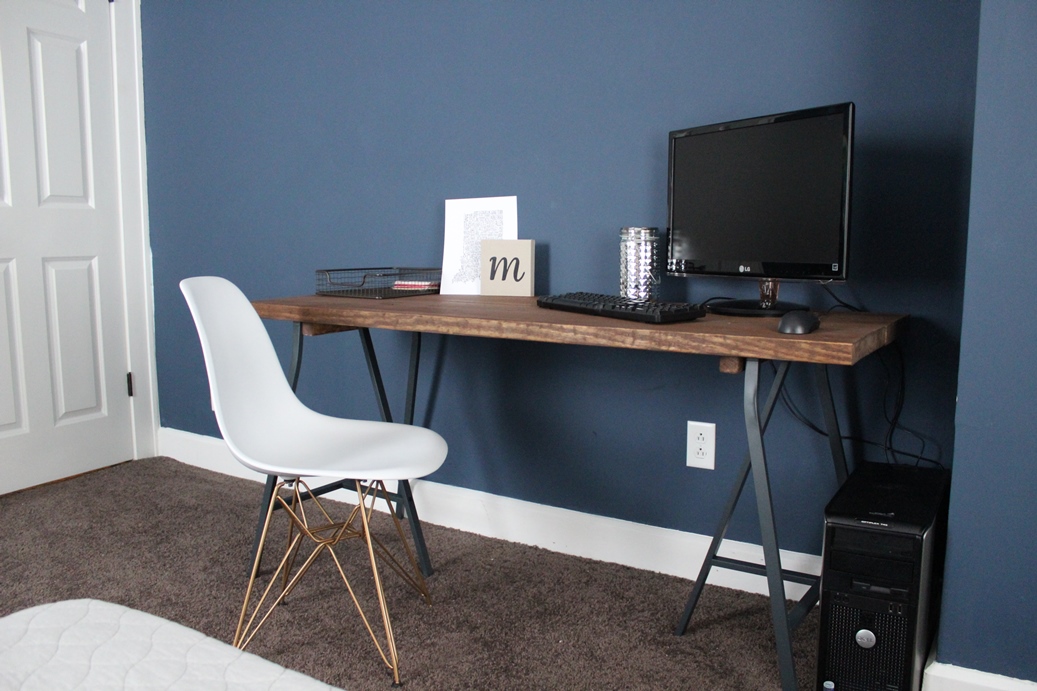
Here's how ours turned out with instructions on how we built it. The whole project cost us about $40.
Desk Top Shopping List:
- A 10ft x 12in x 2in pine board--cut down into two 5ft pieces
- Two 20in x 1in x 1in pine beam
- 8 12 x 2 1/4 wooden screws
- Miniwax Pre-stain Wood Conditioner
- Miniwax Special Walnut Stain
- Paint brush that can be used with oil base products
Tools:
- Sander
- Drill
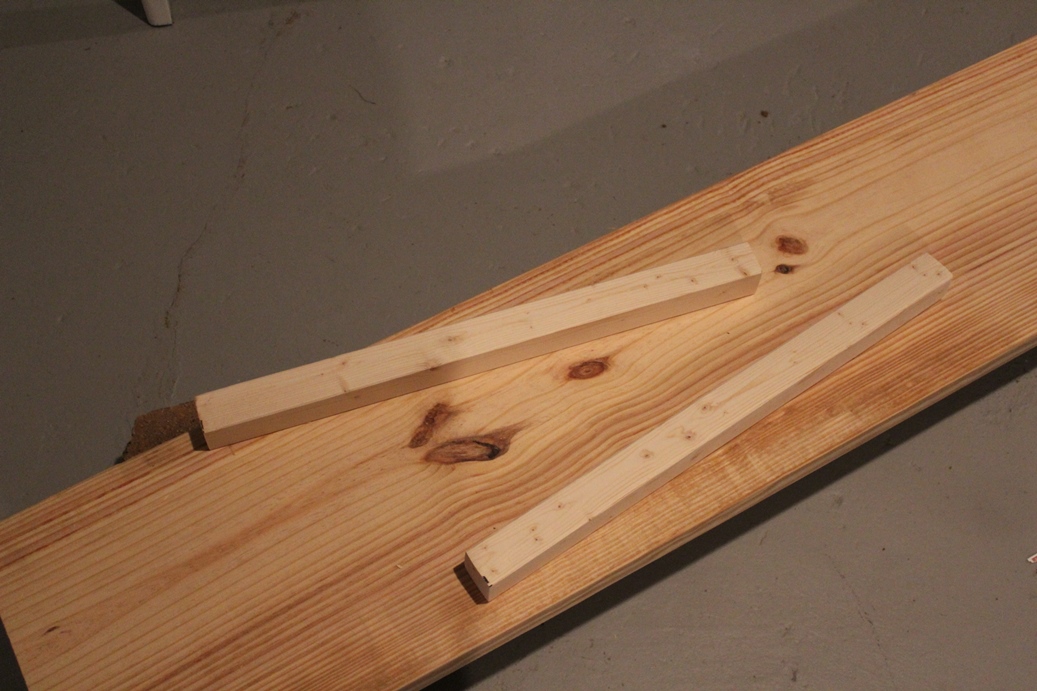
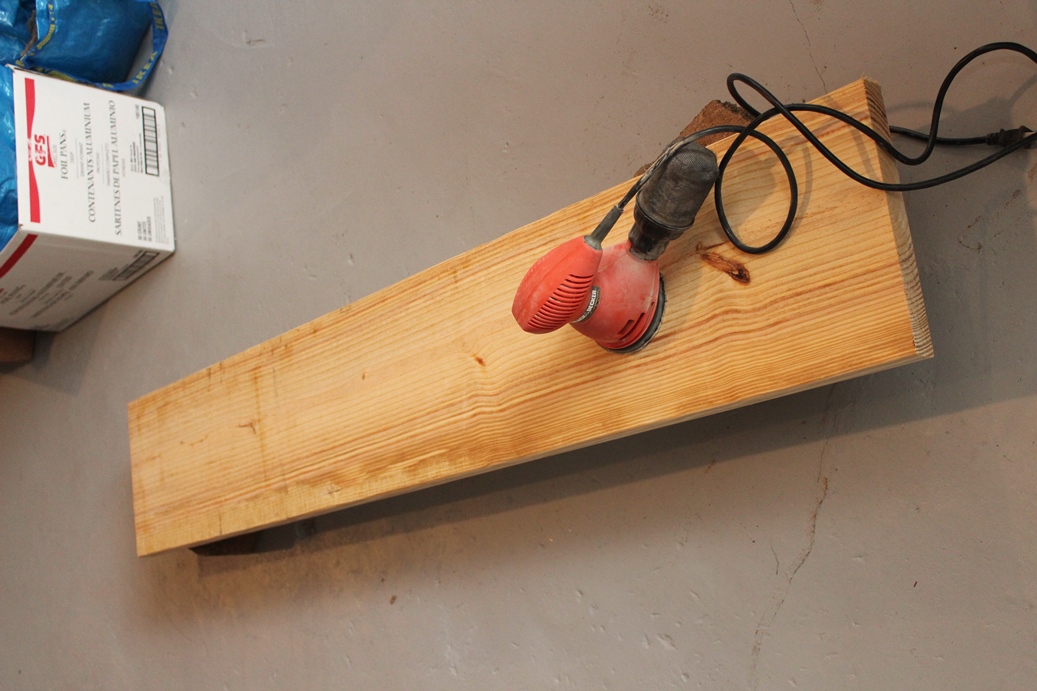
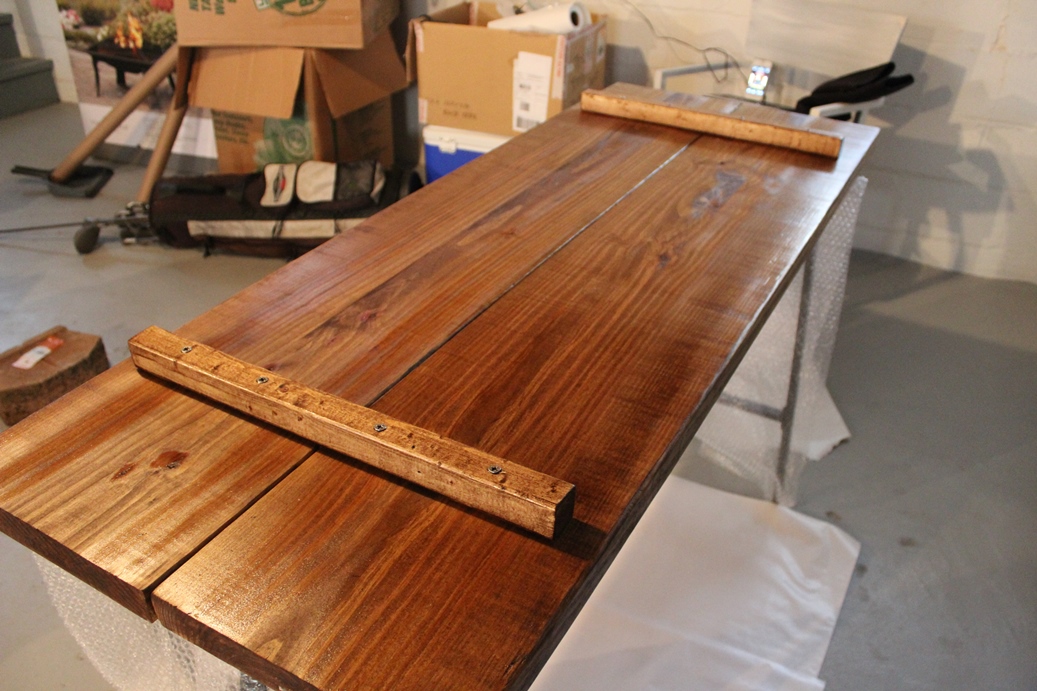
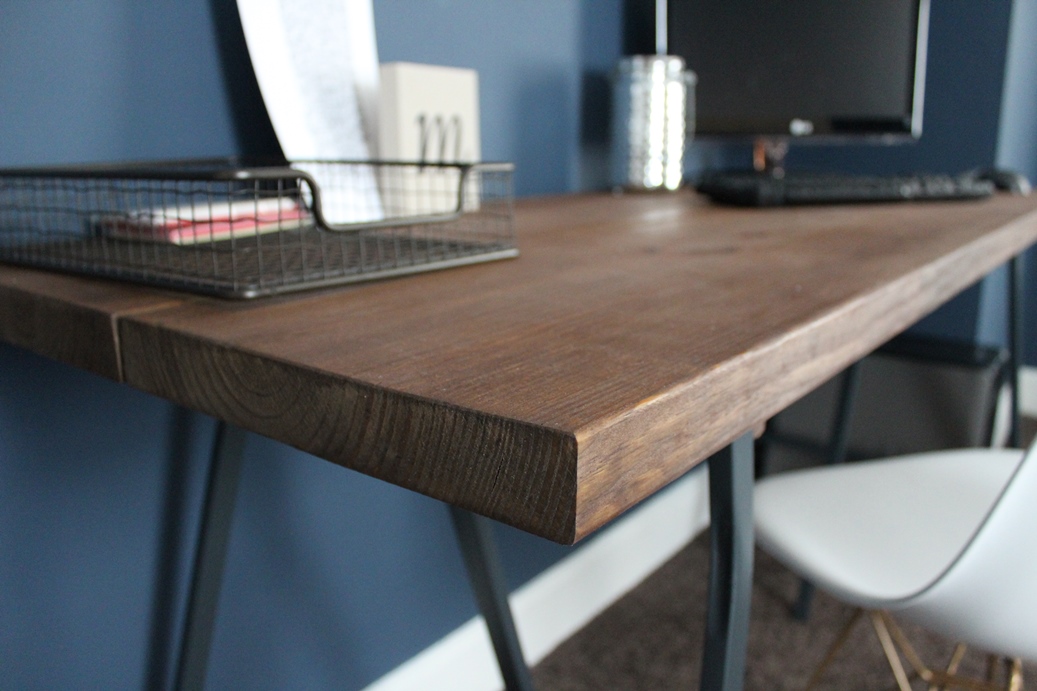
We bought our pine board and beams at Lowes. The 10ft board cost about $14. We cut the board in half to make a 5ft desk top. The boards ended up being just slightly uneven, but you can hardly tell in the finished product. We bought a 8ft x 1in x1in beam and had Lowes cut it down into 20 inch segments. The whole 8ft beam cost less than $2. Before building the table top, we made sure to sand down the tops and sides of the boards and beams to get them completely smooth.
- A 10ft x 12in x 2in pine board--cut down into two 5ft pieces
- Two 20in x 1in x 1in pine beam
- 8 12 x 2 1/4 wooden screws
- Miniwax Pre-stain Wood Conditioner
- Miniwax Special Walnut Stain
- Paint brush that can be used with oil base products
Tools:
- Sander
- Drill
We bought our pine board and beams at Lowes. The 10ft board cost about $14. We cut the board in half to make a 5ft desk top. The boards ended up being just slightly uneven, but you can hardly tell in the finished product. We bought a 8ft x 1in x1in beam and had Lowes cut it down into 20 inch segments. The whole 8ft beam cost less than $2. Before building the table top, we made sure to sand down the tops and sides of the boards and beams to get them completely smooth.
 |  |
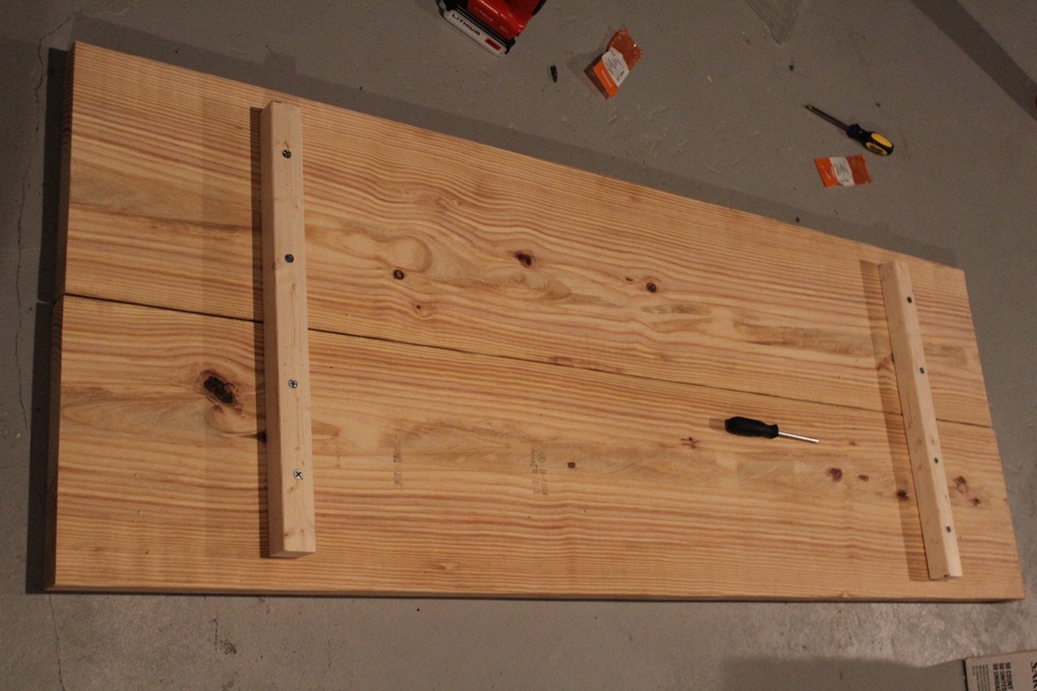
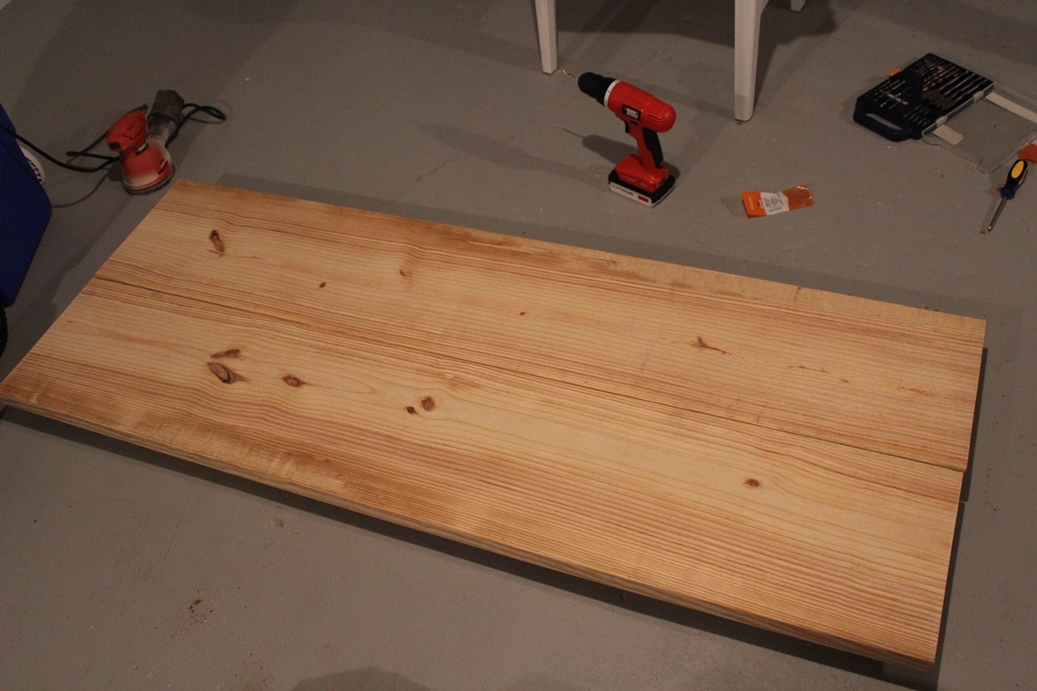
We used eight 12 x 2 1/4 sized wooden screws to connect the 20in beams to the boards. We were concerned that just two beams wouldn't be strong enough to hold the boards together because the boards were decently heavy, but we were pleasantly surprised how sturdy the finished desk top ended up being. We pre-drilled holes in the beams and boards to help the screws go in easier. Each beam got a total of four screws with two screws going into each board. We placed the beams 8 1/4 inches from the edges of the boards and centered them.
 |  |
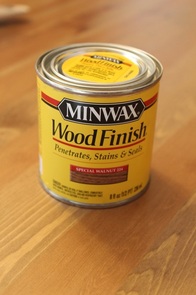
The next step was to stain the desk top. I used Miniwax Pre-stain Wood Conditioner and Miniwax Special Walnut Stain. We bought both of these products at Menards. I have skipped over pre-staining in past projects and highly recommend not skipping this step. It can make a tremendous difference in the finish of the product. Pre-staining only takes a few minutes to apply and about 15 minutes to dry before you can start applying stain.
After pre-staining, I applied two coats of the Miniwax Special Walnut Stain. I had seen this color of stain in a project on Pinterest and really loved the finish. When I went to buy the stain however, the color on the can and example in the store looked significantly different from the Pinterest picture I had seen. I was nervous buying it, but loved the final product. It looked very different from the color on the can.
After pre-staining, I applied two coats of the Miniwax Special Walnut Stain. I had seen this color of stain in a project on Pinterest and really loved the finish. When I went to buy the stain however, the color on the can and example in the store looked significantly different from the Pinterest picture I had seen. I was nervous buying it, but loved the final product. It looked very different from the color on the can.
 |  |
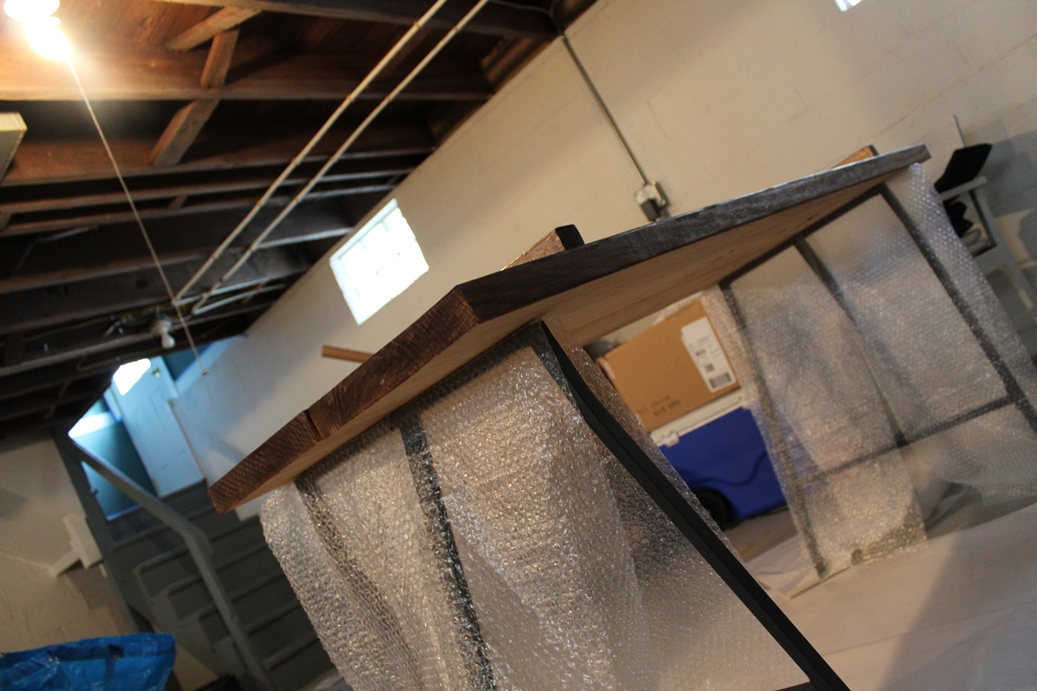
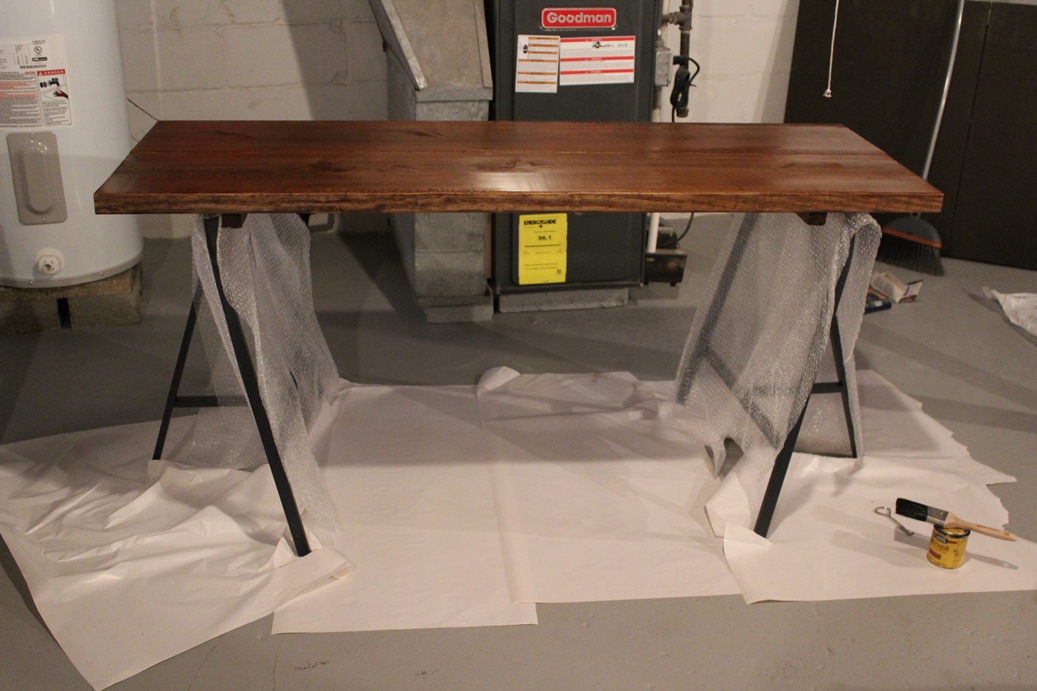
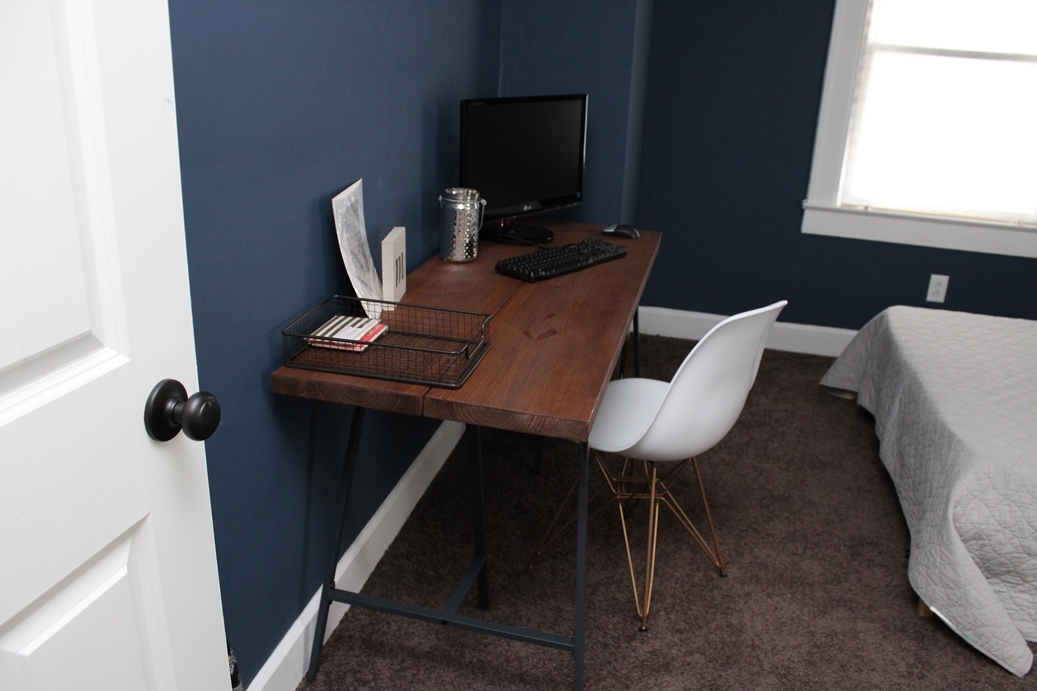
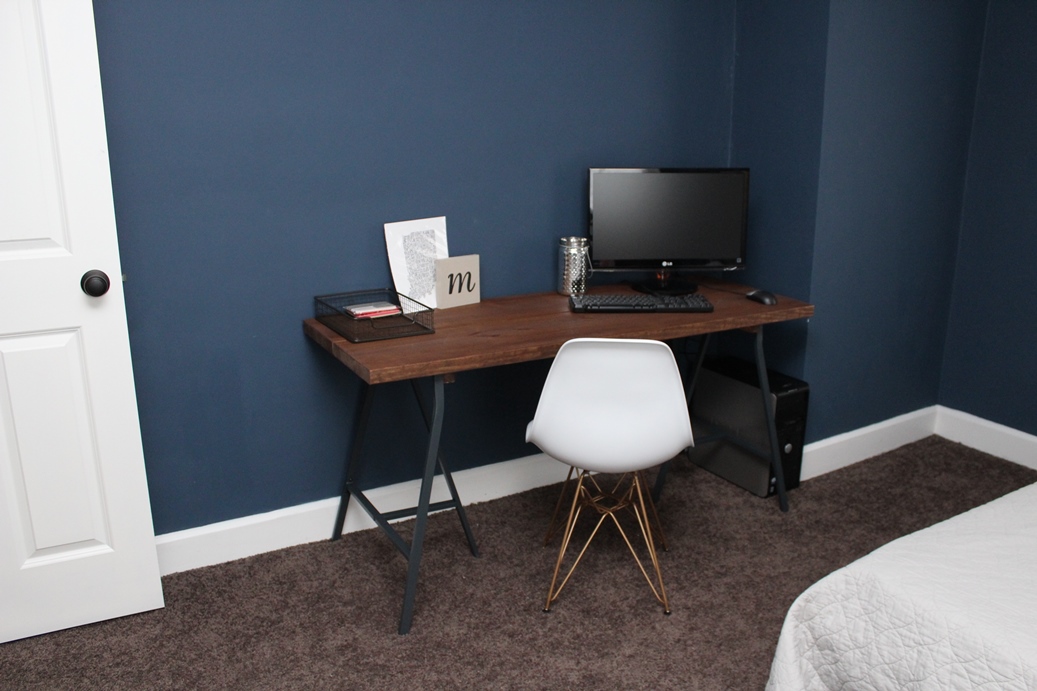
The desk top simply sits on top of the trestle legs. Here are some pictures of the final product.
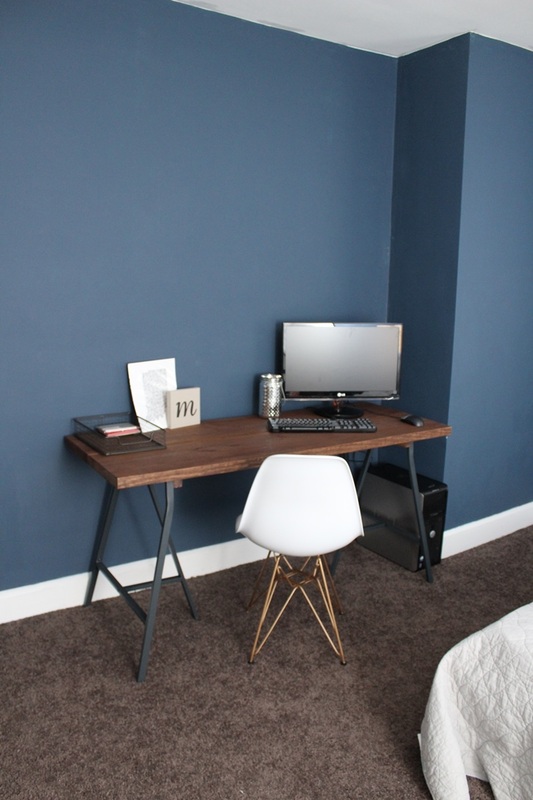 | 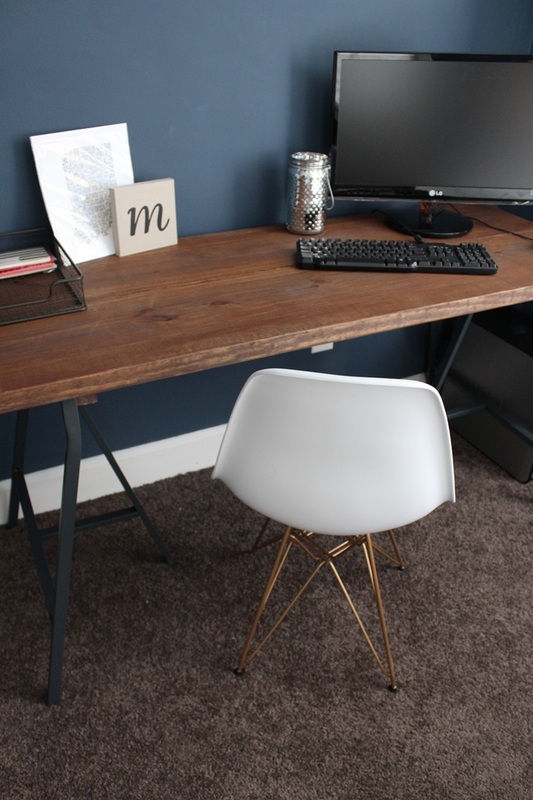 |
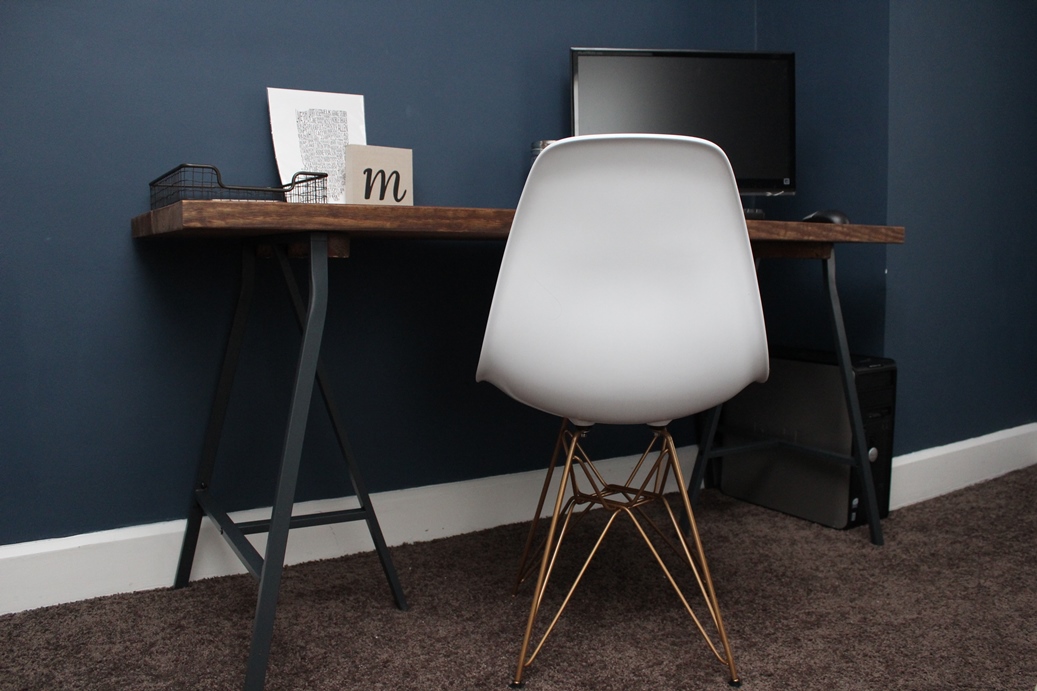
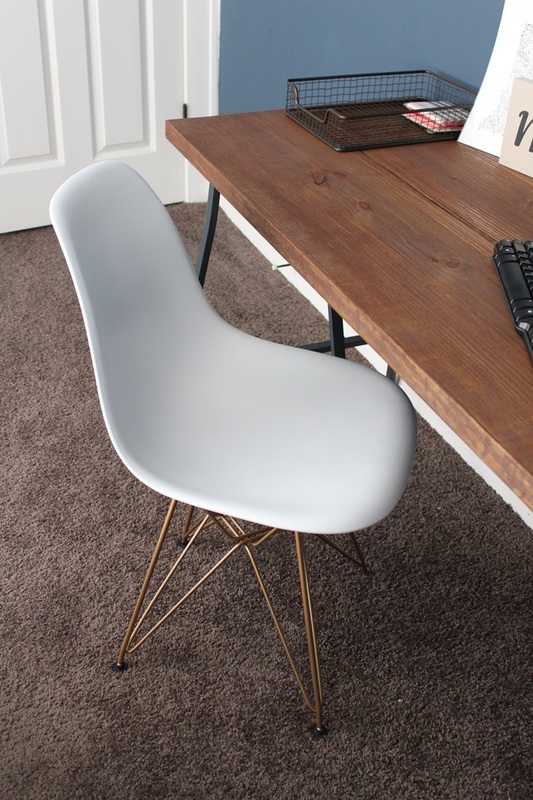


I got the white chair from HomeGoods on sale and the metal tray from Target. I am still working on getting a few prints hung, curtains put up, a lamp for the desk and side tables, but progress is being made!
I was pretty happy with our Ikea hack and even happier with the final price tag. $40 for a desk is not bad. I'd love to see your favorite Ikea hacks!
I was pretty happy with our Ikea hack and even happier with the final price tag. $40 for a desk is not bad. I'd love to see your favorite Ikea hacks!

 RSS Feed